Breaker Toolbox mascot
Breaker Toolbox Help Center
Home / Help / Breaker Help / Your First Break
Breaker Walkthrough

Your First Break

A hands-on walkthrough for running a practice break — without going live. By the end, you'll know how to build a break, start it, assign teams, close it out, and read your profit summary, all with zero risk to real customers.

Jump to a part 5 parts
Part 1
Create Your Break
Build & configure it private
Start →
Part 2
Start the Break
Go live on your stream
Start →
Part 3
Run the Break
Assign spots as they're claimed
Start →
Part 4
Close It Out
End it & review results
Start →
i
Note: A Private break is not listed on the Breaker Toolbox marketplace. No buyers can find it or purchase into it. It exists only in your dashboard — perfect for a dry run.
01

Create Your Practice Break

Build it private

Build and configure a private break before you go live.

  1. Create a new break
    Log in to Breaker Toolbox and click Create New Break from your Seller Dashboard. Break creation is a four-step wizard: Basic InfoConfigurationDetailsReview.

    Step 1 — Basic Info:

    1. Select a Template — Breaker Toolbox provides standard templates for common break formats (PYT, Division breaks, etc.) across all four major sports. You can also build a custom template if your format isn't covered.
    2. Enter your Break Name
    3. Choose your Break Type (e.g., PYT, Random Team, Division)
    4. Set the Date and Time the break will be performed

    Step 2 — Configuration:

    1. Set your Pricing — per-team prices for PYT breaks, or a single price per slot for random formats. Use your real planned prices — accurate numbers here mean accurate profit data at the end.

    Step 3 — Details:

    1. Add a Description of the break
    2. Upload a Cover Image (16:9 format recommended)
    3. Select the Products included in this break
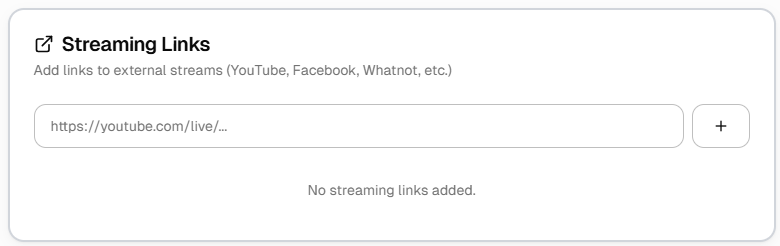
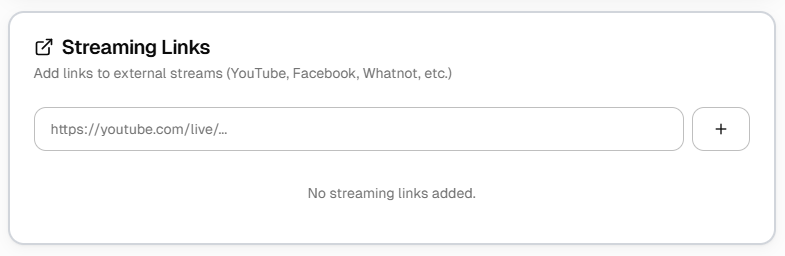
    4. Add a Streaming Link — paste in the URL where you'll be going live (YouTube, Facebook, Whatnot, etc.). This is required for your first break so viewers know where to watch.
    Streaming Links field
    !
    Tip: The Streaming Link is how buyers and viewers find your live stream. For this first practice break, enter the link to wherever you're actually conducting the break. On future live breaks you'll do the same — or leave it blank if you're breaking directly on Breaker Toolbox.
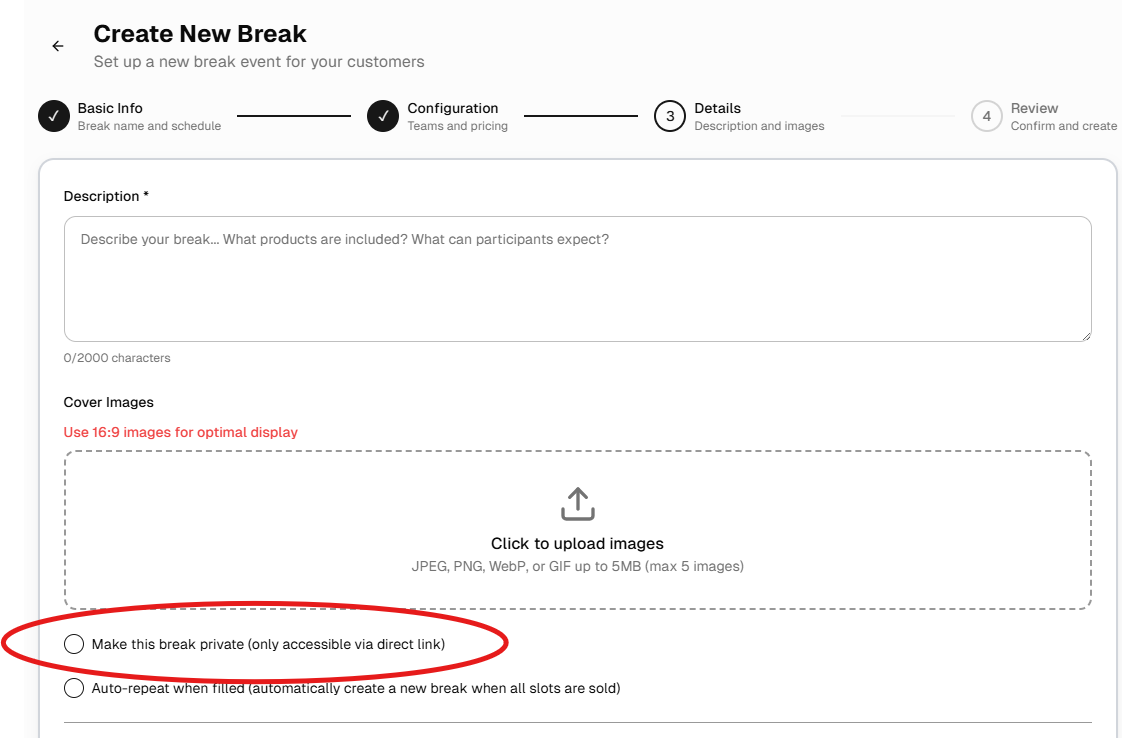
    1. Check “Make this break private (only accessible via direct link)” — this is the key setting that keeps your practice break hidden from buyers.
    Make this break private checkbox
    i
    Note: The private checkbox is on the Details step — step 3 of 4 — after pricing has already been entered. Don't skip past it.

    Step 4 — Review:

    1. Confirm all settings look correct, then click Create Break.
↑ Back to parts list
02

Start the Break

Go live on your stream

Mark your break as active in Breaker Toolbox once you're live on your stream.

  1. Start your break
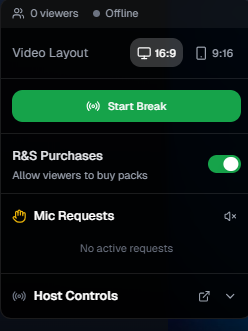
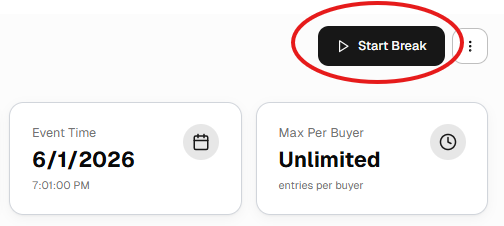
    With your practice break created, open it from your dashboard and click the Start Break button. Start Break button

    On Breaker Toolbox, “Live” means the breaker is literally performing the livestream — not just that spots are available to purchase. This is different from other platforms where “Live” simply means a break is open for sales.

    On Breaker Toolbox, a break is always available to be purchased into from the moment it's created until it's completed or cancelled — regardless of whether you've hit Start Break. Clicking Start Break is how you signal to buyers that the livestream is actively happening right now.

    For your practice break, go live on your stream (Facebook, YouTube, Whatnot, etc.) and begin the break as you normally would.
↑ Back to parts list
03

Run the Break

Assign spots as claimed

Assign spots as teams get claimed during your break.

  1. How spots get assigned
    There are three ways a spot can be assigned in Breaker Toolbox. For your first practice break, you'll use two of them:
    MethodWhat it doesUse this break?
    Buyer CheckoutBuyer adds a spot to their cart and completes checkout. Team is automatically assigned.Skip for now
    Sold Elsewhere
    (your main tool)
    Breaker marks a spot as sold to someone who paid outside BT. Enter buyer name, platform, address, and any fees. Revenue is counted.Yes — every claimed spot
    ClaimBreaker claims a spot in their own name. Revenue is not counted. Use this for any teams that go unsold.Yes — unsold teams
  2. Mark claimed teams using “Sold Elsewhere”
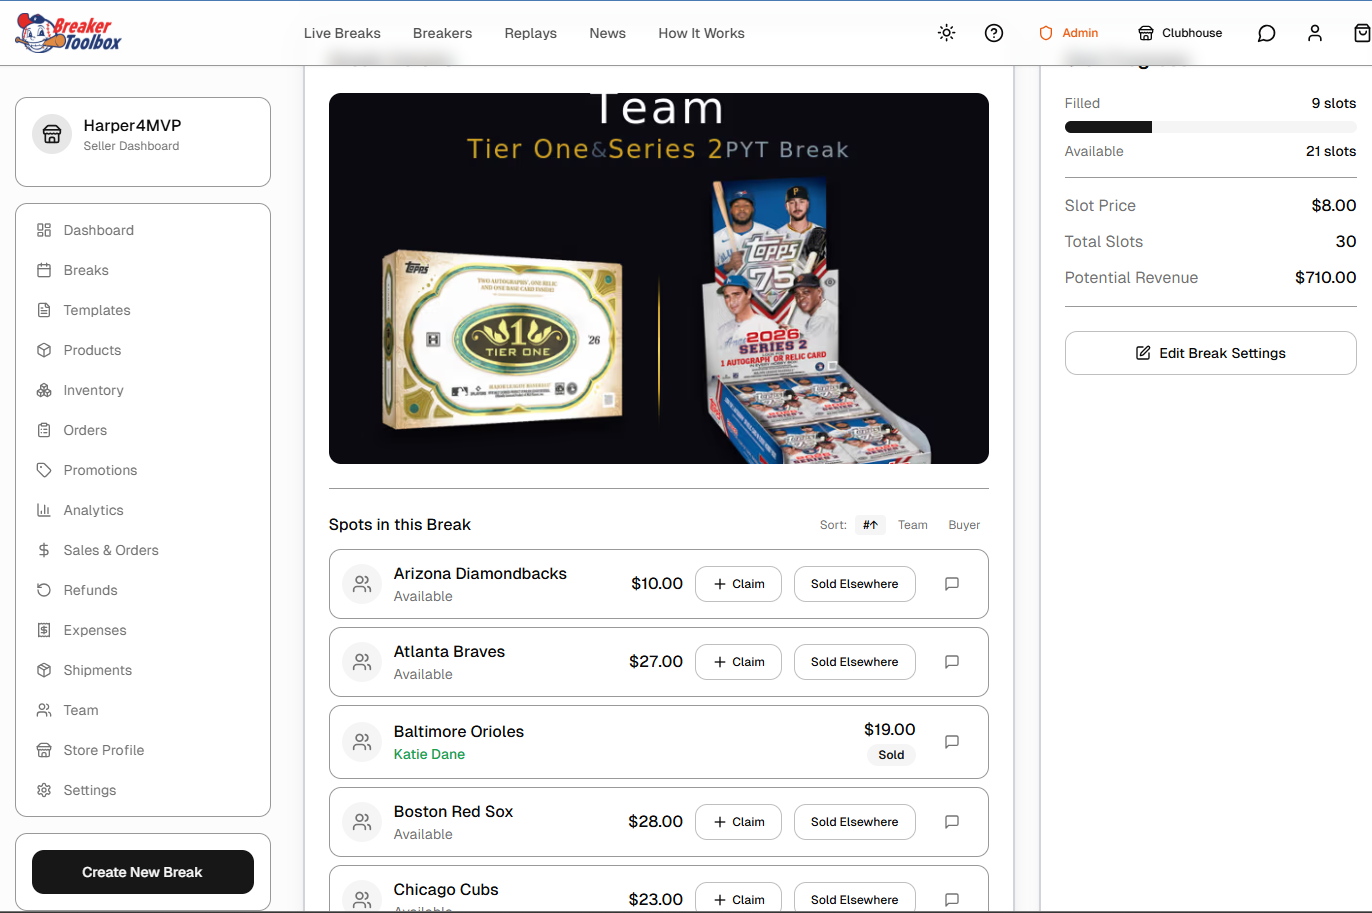
    As each team gets claimed during your break, log it in Breaker Toolbox. Navigate to Clubhouse → Breaks → Break Details. Break Details showing Claim and Sold Elsewhere buttons

    For each claimed team, click Sold Elsewhere. A form will appear where you can enter:

    1. The buyer's name
    2. Where they purchased the spot (e.g., “Facebook Live,” “Discord”)
    3. Their mailing address
    4. Any additional fees if applicable
    !
    Tip: You don't have to do this in real time if it's too much to juggle during a live stream. Jot names down on paper as spots are claimed, then fill them in on Breaker Toolbox right after your stream ends.
    Spots assigned via Sold Elsewhere are included in your break revenue totals, giving you accurate profit data at the end.
  3. Handle unsold teams using “Claim”
    If any teams go unsold by the end of your break, use the Claim button on the same Break Details page to assign them to yourself.

    Claimed spots are assigned in your name but are not counted as revenue — this correctly reflects that those teams brought nothing in, giving you an accurate picture of how the break truly performed.

↑ Back to parts list
04

Close Out the Break

Review your results

End the break and review how it performed.
  1. End the break
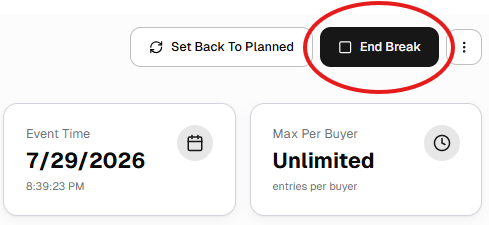
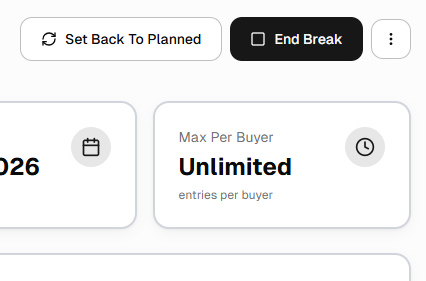
    Once all teams have been assigned or claimed, click the End Break button from the Break Details page. End Break button

    This closes the break and finalizes all revenue and profit calculations.

    i
    Note: If you need to make corrections before closing — re-assigning a team, fixing a buyer's name — use the “Set Back to Planned” button to reopen the break, make your changes, then start it again before ending.
  2. Review your break summary
    After ending the break, open the break summary to see how it performed. The key metrics are:
    MetricDefinition
    RevenueSum of all Sold and Sold Elsewhere spots at their set prices. Claimed (unsold) spots are excluded.
    CostTotal cost of all products included in the break.
    FeesSum of all payment processing fees from Stripe and/or PayPal.
    ProfitRevenue minus product costs and fees.
  3. What to look for
    Use this summary to ask yourself a few key questions before your first live break:
    • Did your pricing cover the product cost with margin to spare?
    • How did unsold spots affect your numbers? Were there teams you couldn't move?
    • Are there teams you consistently underpriced or overpriced?
    • Does your net profit feel right given how the break actually went?
    !
    Tip: Most experienced breakers run their numbers before every break, not just the first one. Getting comfortable reading this summary now sets you up to price smarter every time.
↑ Back to parts list